
Acrylic Nail Ripped Off Real Nail – Ways to Fix
Nothing is as painful as an acrylic nail ripping off from the nail bed, but it can get worse. It usually shocks your system whenever it happens since it’s never slow. It not only destructs the underlying nail but also results in bleeding and pain which determines how you’ll fix the problem if you can at all.
When fixing an acrylic nail that’s ripped off from the nail bed, you’ll first need to assess the damage on both the nail and nail bed. You won’t be able to see the extent of the damage if the nail is only halfway ripped. You might have to slowly and gently lift the nail. If you in pain, it probably means that the acrylic nail got off with the natural nail.
If are in pain and bleeding, that’s a clear indication that the nail bed is equally damaged. In both instances, there are things you should be conversant with before trying to either remove or fix the acrylic nail.
Acrylic Nail Ripped Off Real Nail
So, your acrylic nail ripped off the real nail? What can you do?
Here are some tips:
1. Is the Natural Nail Affected?

If you are in real pain and can clearly see the extent of the damage, then merely fixing it can cause further destruction that you shouldn’t have to deal with in the first place.
For starters, if the acrylic nail hangs on a thread with the nail bed exposed, avoid gluing it back on top of your nail bed. Doing this only makes you more susceptible to infections that can rapidly spread.
If the nail bed is okay and the only thing affected is the natural nail, then you can glue it back to position. This is only ideal if there’s no bleeding and the extent of damage is small. However, gluing back the acrylic nail still exposes you to the risk of growing fungus.
The nails are usually airtight beneath the acrylic nails. Any breach in the protective chamber no matter how small is subject to moisture that results in infection and fungus growth especially if you have an injury.
If you choose to replace the acrylic nail altogether or glue it back on, always ensure it’s sterilized especially when you are doing it yourself.
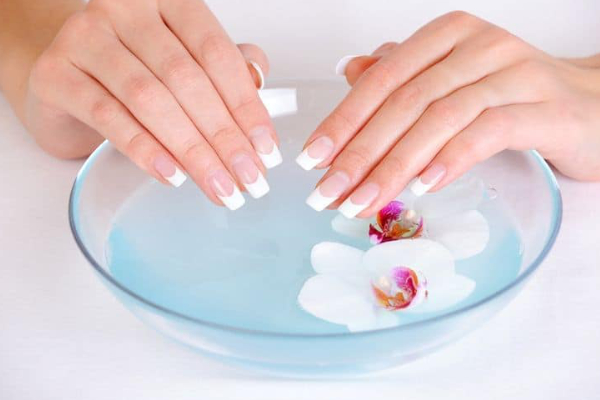
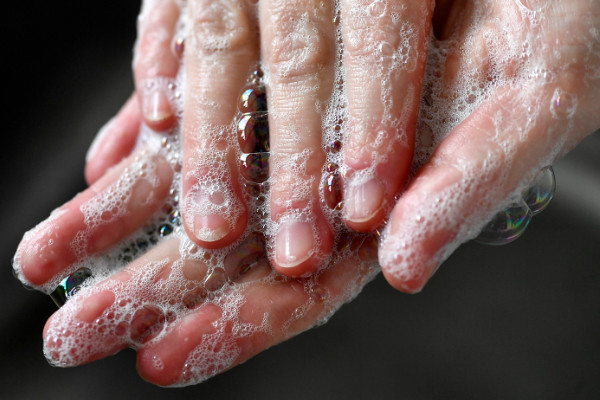
2. Use Lukewarm Water and Mild Soap to Clean the Affected Area, Loose Acrylic Shard, and Glue
It’s always important to ensure that the acrylic nail is dry before gluing it back on the nail bed. In this case, a blow dryer will come in handy as it helps with the drying. Also, ensure there’s no moisture on the surface of the nail.
If the extent of damage on the nail bed is extreme and you can feel a burning sensation coupled with pain and blood, don’t apply anything on it. You should give it sometime to heal before fixing your ripped off acrylic nail.
If the nail bed is damaged, wait until your natural nail grows back completely before doing the acrylics. It usually takes three to six months for the nails to fully grow back. It’s a lot of time but safe than sorry since it’s a necessary precaution.
Placing any chemical on top of the affected area can make you lose the nail altogether. Your natural nail can fall off along with the acrylic nail and this takes even longer than six months to grow back.
In addition, there are no guarantees that your natural nails will grow back to normal when it falls off along with the acrylic. Once you assess the damage and decide on what to do, follow these next steps carefully.
There are no shortcuts so ensure you follow these steps to the latter. Healthy nails usually determine how strong the acrylic nails hold up. Always remember that your natural nails are the foundation on which the acrylics stand on which means that the health of your nails is very important.
Gels and acrylics usually last longer on healthy nails.
3. The Acrylic Coating Should Be Removed with Precision
This step is precise. The amount that’s ripped off from the nail bed, size and shape differs from one person to another. You’ll have to be the judge when it comes to the amount if nail you wish to remove. You need some tools for this exercise.
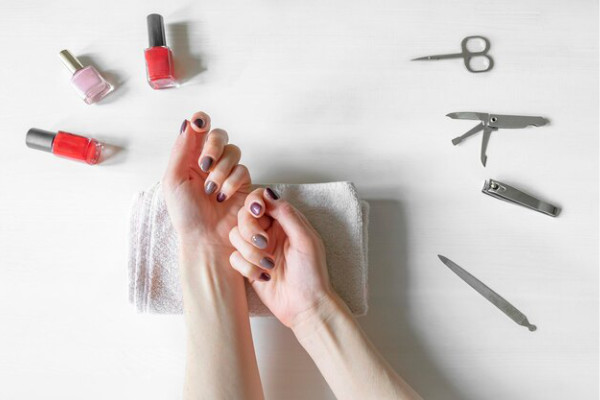
Tools
- Water and soap
- Glass bowl
- Disinfectant – If the extent of the damage is extreme, use topical antibiotic and put on waterproof band aids since you can’t put the acrylic nail back on immediately
- Nail Clipper
- Buffer and Nail file
- Moisturizer
- Vaseline
- Acetone
Extra Tip:
Ensure that you dip the metal tools in the disinfectant before using especially the nail clipper. You can also burn the edge of the nail clipper using a lighter for a few seconds and then allow it to cool off for a minute. This is only applicable to metal nail clippers and not other materials like plastic.
Always use a glass bowl for any beauty chemical and acetone. Never use metal bowls since they material is reactive that’s why glass comes highly recommended.
Get Rid of the Acrylic Nail

- Check the acrylic nail and try lifting it from the edges gently while removing the tiny parts that are still attached to the natural nail. Don’t pull it off forcibly if t doesn’t come off easily when you lift it.
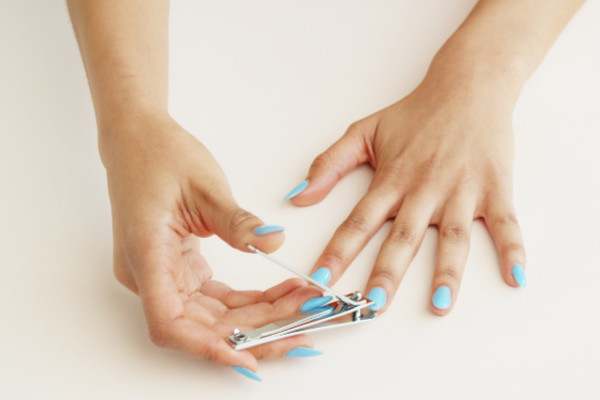
- Clip the edges of your nails gently going as small as you possibly can. Nail clipping usually disrupts the acrylic nail’s chemistry and tends to weaken their integrity.
- Don’t rip off the acrylic nail with a clipper as much as it’s tempting since it only damages the natural nail
- Gently clip the edge of the acrylic nail to get it off effortlessly
- You can file down your acrylic nail if it’s too thick and fails to clip off
- Acetone will come in handy if all else fails
How Acetone Works
First off, acetone is chemical agent that is super strong. It can damage the skin and cause injury. When using acetone, ensure the room is well ventilated and apply Vaseline to prevent it from getting in contact with the skin. Don’t put your finger in the acetone if your nail bed is damaged as it can seep through the affected area causing further damage and call for medical attention.
You can only use acetone if the both the nail and nail bed are intact. Wear a glove on the other hand, then soak a cotton swab in the acetone. After soaking, squeeze off the excess acetone into the glass bowl then place it on top of the acrylic nail for a few minutes. Do this several times until the nail shows a rubber-like consistency and can effortlessly peel off.
File Your Nails

You need to file down your natural nails after removing the acrylic. But first, you’ll need to assess the nail bed and your natural nails. Are the nails damaged severely? Is there pain or bleeding? Once you ascertain that everything is okay, use the softest file to file your nails on the area of interest and rough tips.
Buff the top after filing to smooth out the peeling and rough edges. You’ll notice that your natural nails have ridges and are equally thin. If this is the case, then you need a little break from acrylic nails.
Let your nails stay natural for a while. You can keep your acrylic nails on if you are only dealing with one nail since you can easily fix it for uniformity.
File Your Nails to Your Desired Shape

File your natural nails to your desired specifications ensuring you are going in the right direction – moving from the base towards the tip. Filing your nails in this direction usually helps prevent the nails from peeling and damaging.
Filing your natural nails to a shape that you want makes gluing the acrylics easy and uniform. It always advisable to shape the nails like the acrylics for a better fit especially if you are doing it on your own.
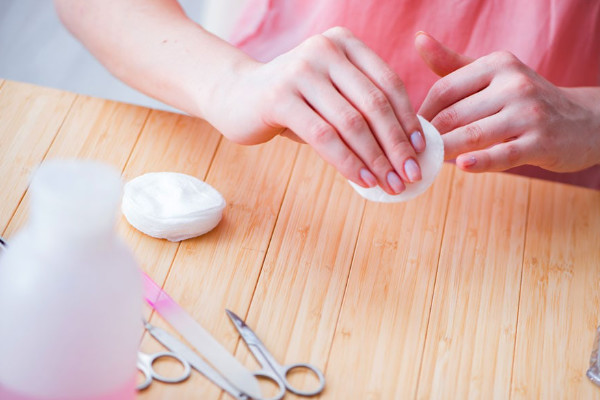
Preventing Fungal Infections
Fixing your acrylic nails, yourself after they have ripped off is quite admirable. However, there’s more that a professional nail technician does than just fixing the acrylics that you don’t even notice. They usually do some of these procedures before the client even comes in. Hopefully, they sterilize all their tools in an autoclave before use.
An autoclave is a high-quality medical grade sterilizing machine that most medical institutions often use. All the tools should be sanitized before suing them on the nails and sterilize again after use. Our home equipment are usually not as safe and clean and the nails are no exception when it comes to matters sanitation.
Follow these steps before applying the nail polish or acrylics:
- Use soap and water to wash your hands thoroughly
- Gently scrub the nails using a brush
- Dry your hands and nails completely. You can use a blow dryer if it’s a must to ensure there’s no moisture or dampness on your fingers and nails
This is where the topical disinfectant comes in. You can also substitute it with an over the counter anti-fungal that works as a preventive measure.
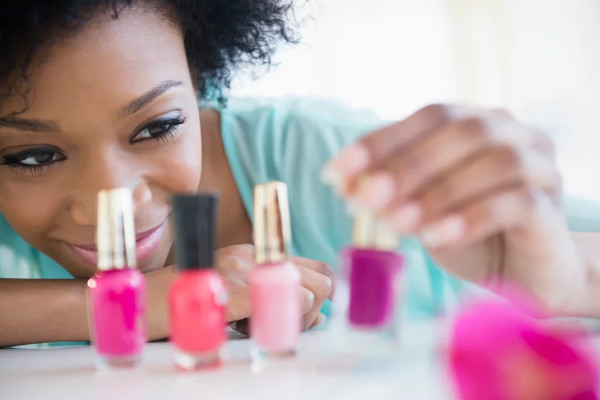
Reapplying the Acrylics

It’s now time to reapply your acrylics. Go through the instructions before applying especially if you are using an at home kit. If you got your acrylic from a beauty store, then you’ll need to ask a professional how to go about it. Plus, taking safety precautions is paramount.
Different manufacturers make different acrylic products so you have to brush through the instruction guide to know what’s expected of you. There are no laid down instructions that’s the same for all products.
Remember to always use these products in a well ventilated mask and even wear a mask where necessary for fumes. You can also check if you might need a ventilator, to turn on the fan or open windows.
However, you need to be extra careful when using the fan since you don’t want to end up with acrylic powder on your entire face.
Moisturize

After applying the gel or nail polish, the final step is usually moisturizing. However, ensure it dries off completely before you moisturize your hands, paying attention to the affected area. The used chemicals tend to affect the acrylic nail and even stress the sin around it.
The surrounding skin can peel off for several days which is quite normal since it’s usually the chemical peel. Always moisturize your hands even days after reapplying acrylics.
Use olive and sesame oils preferably. You don’t want to use perfumed and harsh moisturizers that can cause irritation or make the damage worse.
How Do I Prevent My Acrylic Nails from Breaking?

Preventing acrylic nails from breaking is sometimes inevitable since you can’t even predict when it will happen or even if it’s bound to happen. As earlier mentioned, there’s nothing as painful as a broken acrylic nail as it takes lots of effort to fix and repair. Fortunately, you can help prevent breakages by taking some of these precautionary measures:
Avoid Opening Cans with Your Acrylic Nails

The acrylics can look sturdy and tough as compared to your natural nails, but you couldn’t be more wrong. Acrylics are just like pieces of glass, tough than a tumbler but tends to break under stress. Don’t use your acrylic nails for things that’s not supposed to like removing tapes, opening cans and picking at different objects harder than the acrylic nails.
Acrylic nails aren’t flexible since they crack, leaving you with some superficial chips and cracks. It tends to weaken the nail’s integrity and eventually pops off even under the slightest of pressure as cracks to the base causing pain.
Always Keep Your Acrylic Nails Waterproof

This doesn’t necessarily mean that you shouldn’t wash your hands. However, submerging your hands in water for long weakens them. These nails are usually hard but porous in areas around your natural nails and nail bed. Remember, the fit of the acrylic nails is usually not 100% perfect. Water seeps through the tiniest of pores on the surface of the nails. Always dry your hands completely after washing them.
Avoid Chemicals
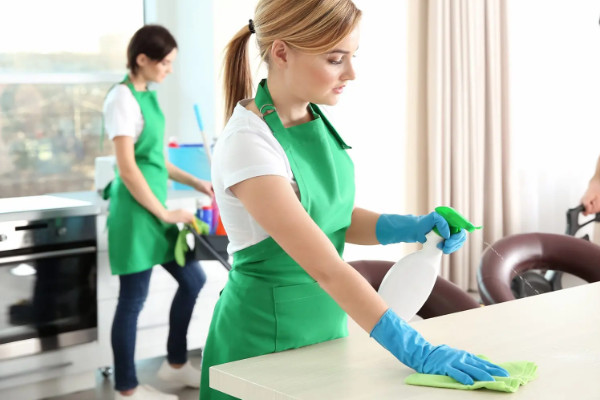
Wear gloves when doing chores. Exposing your acrylic nails to washing soap and dishwasher detergent constantly is damaging. Chemicals such as cleaners and bleach weaken the nail’s integrity. Your nails will not break immediately but breaking is inevitable.
Avoid Using Acetone

Nail polish removers are usually made with acetone to make them more effective in getting off the nail polish and gel. However, acetone and acrylics can never go hand in hand since it tends to soften them causing the nails to break eventually.
The nail that’s usually around the skin is the integral part of the entire nail. Ensure it’s healthy enough so that it doesn’t contribute to the nail’s degradation. Hard and dead skin around the nails tends to peel off the acrylics due to friction between the skin and the nails.
You can do manicure without interfering with the nails. Soak the nails in warm soapy water every once in a month. Also, cut off the hard, dead skin and don’t forget to moisturize.
Always Disinfect

It’s always important to disinfect your nails regularly using an antibacterial soap then rinse and dry off excess water completely. You can also take the Q-tip then dip it in some rubbing alcohol. Running the tip beneath your natural nails helps prevent fungus growth.
It’s almost impossible to get rid of fungus in the nails once they develop. It has plenty of health risks that involve taking internal medication. Thankfully, fungus development is totally preventable.
Change Your Acrylic Nails Regularly

It’s not advisable to keep filling your acrylic nails repeatedly, you can only do it twice or thrice. Put on a new set after the third time to avoid damaging your natural nails.
Conclusion
Acrylic nails are beautiful and so are natural nails as they give women a sense of style and femininity. You shouldn’t have to struggle with nails once you embark on the acrylic journey.